This post will record first month of my experience with Anet A8 start with setting up hardware to printing experience.
Un-boxing and Verify Received Goods
 I brought this 3D printer from China seller via Lazada. Package arrived in good condition. In the box, there is a microSD card and USB card reader.
English version of installation manual provided in the SD card. Cross check and all parts is included.
The pain part, all acrylic board is protected by sticker on both side, removing them is tedious and time consuming job. If you just done your manicure, get someone to do it for you.
Setting Up the 3D Printer
Basically the manual is pretty clear and easy to follow and they do included a YouTube link (which i refer when i am stuck).
Following is the progress of my installation.
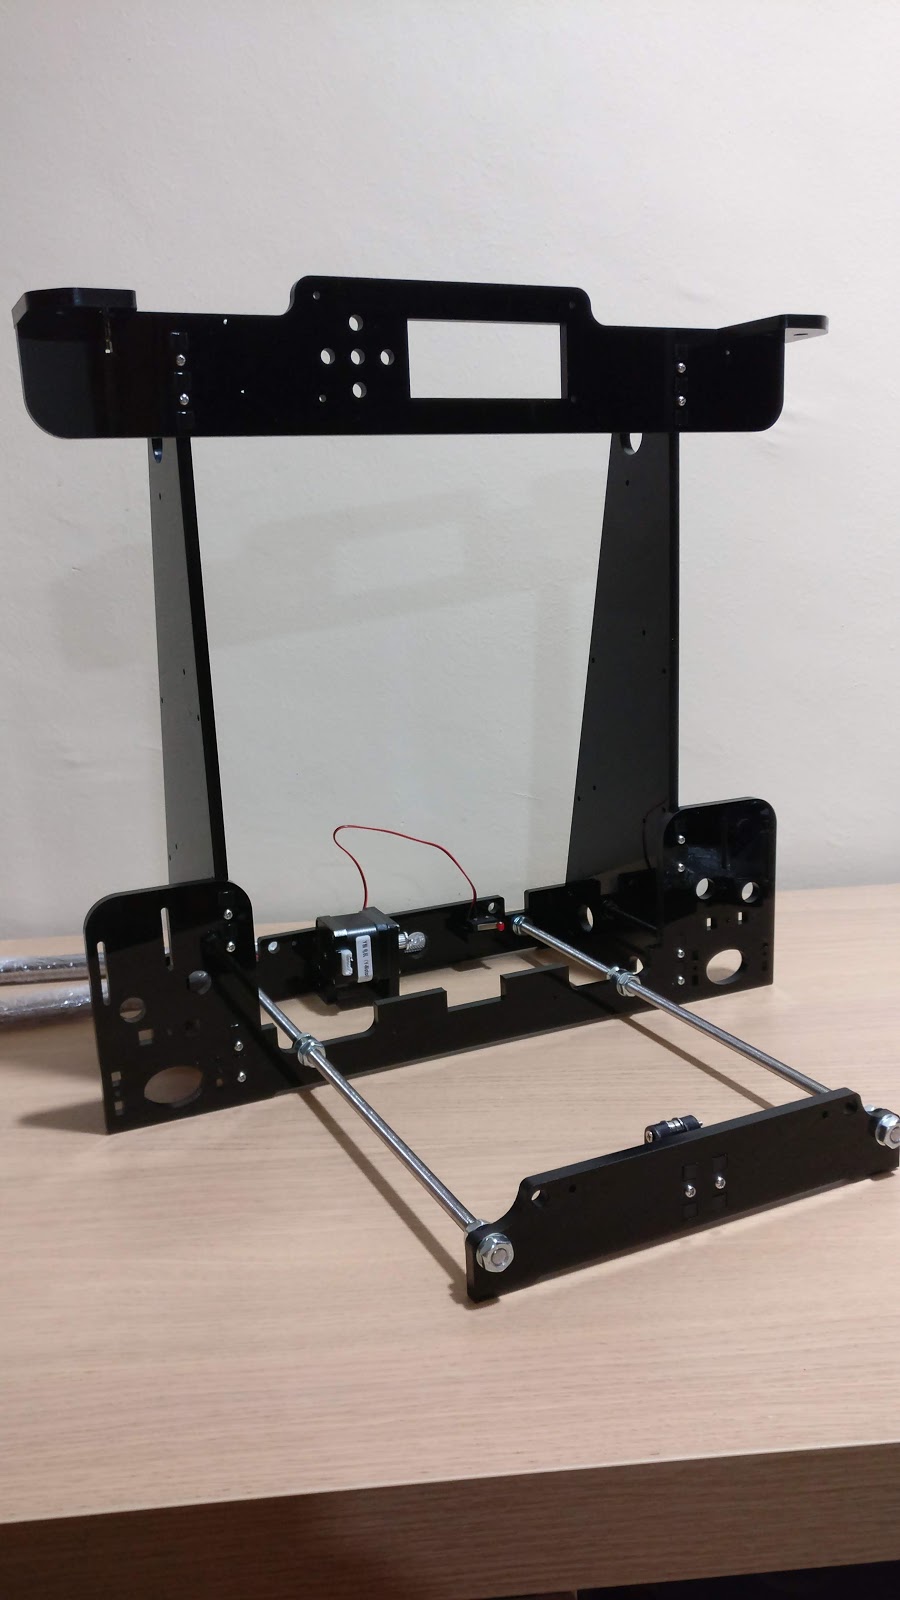


However, there are few points I will share here which for me is not clear or the silly mistake I made when setting up the 3D printer.
Motors Position
- For Y-Motor, the connector should face frontward, not downward or upward. (pg.12 Assembly Step 3)

- For both Z-Motors, the connectors should face backward, as you can see mine is facing front. (pg 21 Assembly Step 12 )

Y Axis Belt
- The belt should tighten in the between of two belt fixation clamp, not next to the metal plate. (pg 19 Assembly Step 10)

Alignment of T Lead Screw, Elastic Coupling and Z Motor
- This is most unclear part for me, check this link to get the idea. https://3dprint.wiki/reprap/anet/a8/coupler
- After try and error, end up the two elastic couplings level alignment must be same.

Power Supply
- The power supplied is not auto detect the voltage, you have to choose 110v or 240v by adjusting a switch.
- As the printer is from China, the switch is set to 110v by default and I didn't release it. Bet you know what happen next, sparks and burn, say bye bye to the power supply.
- I get a new one with max load as 300w, the most important feature for the new power supply is it got a fan attached to it. This is very important if you get a new power supply, as there are many case power supply overheated and cause fire.
Calibration
Once my Anet A8 power up successfully, next will be calibration. Specially the Z axis calibration.
Warped Heat bed
- While calibrating my Anet A8, I found out that the heatbed is not flat (warped) with curve downward 2mm in the middle.
- While waiting feedback from the seller, I just get a 2mm glass panel with size 220mm x 220mm x 2mm as suggested from forum which cost me less than USD2.50
- However, 220mm x 200mm will block the heatbed screw, this will made calibrating a challenging job. I will suggest 200mm x 200mm or shown below but need custom glass cutting service and cost more.

- How to make the glass stick on the heat bed? The easiest and cheapest solution and widely share in forum, get four wooden cloth pegs and get the spring in the middle then use your imagination.


Calibrating Z Axis
- I know, using A4 paper to ensure 0.2mm space between heat bed and nozzle. But calibrating process is tedious and keep repeating.
- What I did is first ensure left side is calibrated using the A4 paper method. Then for the rest of the side, I just use level ruler to made sure four side is at same level.
- Then use A4 paper to verified as the final steps. I found this way is faster and more precise.

3D Printer Profile
- I used Cura software and 3D printer profile provided in the SD Card with slight modification as shown below
- Printing Temperature: 190 Celsius
- Bed Temperature: 75 Celsius
- Initial layer thickness (mm): 0
- I found above configuration help the prints have better stickiness to the glass bed and have quality print. However, I believe the temperature is depend on environment too (I am in tropical country with average temperature of 30 Celsius), so test it yourself.
Printing
Adhesive, Adhesive & Adhesive - Why not sticking
- The prints always cannot stick on the heat bed or glass bed till end of the print. Specially the heat bed touching area is small.
- There are lots of suggestion using difference type of glue to help on this. My personal preference is using carpenter glue (white color glue).
- Before printing start, I will spread a thin layer of glue on the glass heat bed.
- Then in the middle of printing, pause the printing, then I will use syringe to put more glue around the prints and let it dry.
- As the carpenter glue is water soluble, you can wash the print with water to clean the dried glue.

Sample Prints
- Following is the some 3D print I made so far, is not perfect and I am still learning how to made it right


Guide & Upgrades
- There are plenty of site sharing the must have upgrade for Anet A8, below are some reference
Summary
I had spent 2 weeks in order to complete the setup and calibrating but is worth it. Anet A8 is a good choice by compare the quality and the price. All you need is patient and time.
No comments:
Post a Comment