This post records all my journey on the upgrades, mods, tuning I had done at my printer.
General Reading
Below are few links as my kickstart on 3D printing and Anet A8
Slicing Software
Initially, I use the slicing software bundle with Anet A8, Cura version 14.0.7. For basic printing, this software is okie. I downloaded the latest Cura at that point of time - Cura 3.5.0 and of course the Anet A8 profile share by the netizen on the optimize configuration. In addition, create a new profile for PLA 1.75mm filament as Cura default is 3mm filament for PLA.However, I face a serious under extrusion on the printing. After having a few tries on tuning and diagnosing, I revert to back Cura 14.0.7.
Within one month, Cura release version 3.6.0, as my suspicion on the under extrusion issue is a software issue, I downloaded the latest version and try again. It works perfectly just by using its default printing profile. I am happy with this current version
A8 Profile
Below are the profile I set for my stock Anet A8 printer

Start G-code
;Sliced at: {day} {date} {time}
G21 ;metric values
G90 ;absolute positioning
M82 ;set extruder to absolute mode
M107 ;start with the fan off
G28 X0 Y0 ;move X/Y to min endstops
G28 Z0 ;move Z to min endstops
G29
G0 X0 Y15 F9000 ; Go to front
G0 Z0.15 ; Drop to bed
G92 E0 ; zero the extruded length
G1 X40 E25 F500 ; Extrude 25mm of filament in a 4cm line
G92 E0 ; zero the extruded length
G1 E-1 F500 ; Retract a little
G1 X80 F4000 ; Quickly wipe away from the filament line
G1 Z0.3 ; Raise and begin printing.
End G-Code
;End GCodeAbove G-Code is provided by ianchen06, the start g-code include purge and nozzle wipe, this is very helpful to ensure the nozzle is clean before start printing.
M104 S0 ;extruder heater off
M140 S0 ;heated bed heater off (if you have it)
G91 ;relative positioning
G1 E-1 F300 ;retract the filament a bit before lifting the nozzle, to release some of the pressure
G1 Z+0.5 E-5 X-20 Y-20 F{travel_speed} ;move Z up a bit and retract filament even more
G28 X0 Y0 ;move X/Y to min endstops, so the head is out of the way
M84 ;steppers off
G90 ;absolute positioning
PLA 1.75mm Filament Profile


Hardware Upgrades & Modes

- Glass bed
- Auto Bed Leveling Sensor - 3D Touch
- Fan Duct
- Extruder Button
- Mosfet
- Power Supply
- T corner & Anti Z Wobble
- Filament Guide
- Spool Holder
- Darth Vader Pop Figure

1. Glass bed
Glass bed is a very useful upgrade, easy to clean, easy to stick and is cheap. Refer to my previous post for detail (The Journey of Anet A8 Part 1 - Setup & Stock Printing)
2. Auto Bed Leveling Sensor - 3D Touch
Manual bed levelling always is a pain as you will need to repeat this after a few prints especially fail print that affects the bed and Z axis.
So my first investment is auto bed levelling sensor, I choose a clone version of BLTouch from China for testing purposes - 3DTouch that cost me MYR50.
Installation of the BLTouch / 3DTouch is not so straightforward but is worth it. You will need some electronic and soldering knowledge. I will advise you finish below two videos before you decide to go for this upgrade. Good Luck!
Installation
This video is a good reference for installation of BLTouch for Anet A8. For bracket, I use this design.Firmware Upgrade
This video is a good reference for firmware configuration, compilation and installation.
Calibrating Z-Offset With An Auto Bed Levelling Probe
Yup, this upgrade is no magic, you still need to do the calibration of Z-Offset. This video is a good reference as the starting point
3. Fan Duct
The stock fan duct is not efficient, it didn't manage to cool down the filament fast enough. After few tries, this fan duct work well for me - "Spriya" - High Efficiency Anet A8 Fan Duct . Just remember to tune your heater using PID Auto Tune after installing the fan duct.


 4. Extruder Button

A must have and is good for the test print. I use this design.
5. Mosfet
For your safety, I only upgrade the heated bed. Get it from Lazada and cost me MYR10. The bracket I use this design.
6. Power Supply


A should have upgrade. I burst the stock power supply (refer to my previous post). So I get a 300W power supply with a fan. A little bit noisy as there is a fan but for safety, I can take it.
7. T corner & Anti Z Wobble
 Lot's of forum and comment recommended these two upgrades, as I don't have any jerking issue, I made this set of upgrade the last. Why I still go for this set of the upgrade? As screw and nut will lose on mechanical activity, putting this on will definitely reduce the jerking and give better stability.
9. Filament Guide
More organize, specially with spool holder. I enhance the filament guide from this design in order to work well with the spool holder.
 9. Spool Holder

Save some space, more organized, smooth filament delivery. Is a must-have upgrade in my opinion. I am using this design. This upgrade uses lots of filament and I managed to print it with stock A8.
10. Darth Vader Pop Figure
Some of my print
As shown below, I had printed a sword for my boy, the Elucidator from Sword Art Online (Thingiverse). There are a lot of defects like precision, print edges are bending (Warping), and others as this is printed with stock printer without any upgrade except the power supply and glass bed.
My first consider successful 3DBenchy

The Hulk - first print with the support structure.

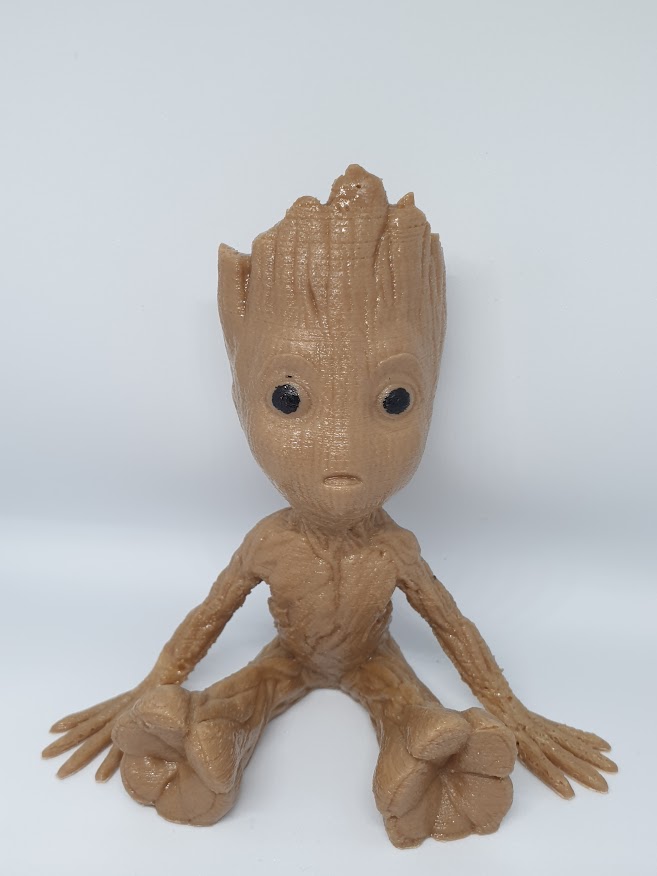
Baby Groot - Wood PLA filament
No comments:
Post a Comment